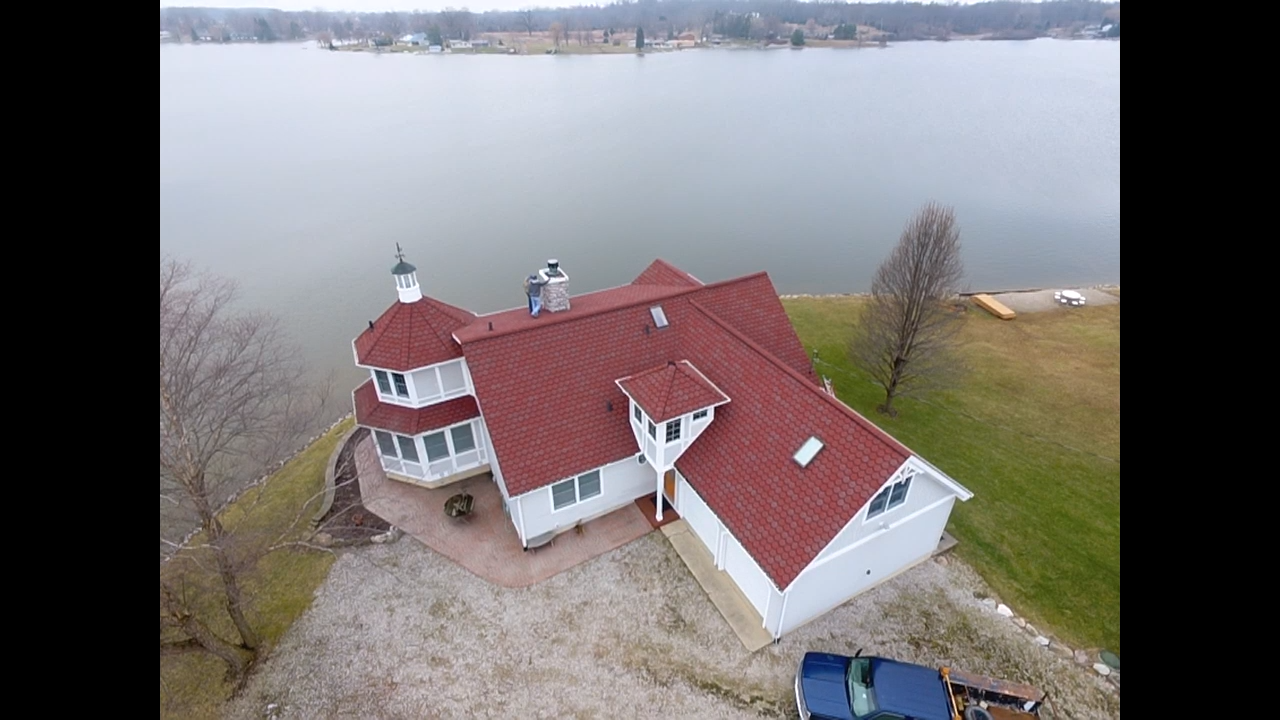


Roof Replacement Checklist Printable for Homeowners

A roof replacement is one of the largest decisions a property owner will make. The right roof protects the structure, belongings, and people underneath it through Michigan and Indiana snow, wind, rain, and summer heat. This roof replacement checklist printable gives you a practical way to stay organized, ask better questions, and know what to expect from the first inspection through final cleanup.
Print this page, keep it with your estimates, and make notes as you go. A clear checklist is especially useful after storm damage, when decisions can feel rushed, or when you are coordinating work at a lake house or property you cannot visit every day.
Roof Replacement Checklist Printable: Before You Hire
Before comparing prices, start by identifying what is happening with your existing roof. A roof near the end of its life may show curling or missing shingles, exposed nail heads, recurring leaks, granules collecting in gutters, sagging areas, or damaged flashing around chimneys and vents. With metal roofing, look for loose fasteners, damaged panels, corrosion, or worn sealants at penetrations.
Not every issue means a full replacement is necessary. A small, isolated repair can be the sensible choice when the roof is otherwise in good condition. But repairs become less practical when damage is widespread, the roof has several layers, materials are no longer available, or leaks keep returning. A professional inspection should explain the condition honestly and show why repair or replacement is recommended.
Use this first section when planning the project:
[ ] Schedule a roof inspection and request a written estimate.
[ ] Ask whether repair is still a reasonable option and why.
[ ] Document visible damage with photos, including interior water stains.
[ ] Check whether storm damage may qualify for an insurance claim.
[ ] Confirm the roof's approximate age and any previous repairs.
[ ] Identify special features such as skylights, chimneys, low-slope areas, solar equipment, or attic ventilation concerns.
[ ] Consider whether this is the right time to address gutters, siding, trim, or structural repairs.
If you are dealing with active leaking after a storm, temporary protection should come first. Take reasonable steps to prevent further damage, retain receipts, and contact your insurance carrier if a claim may be involved. A contractor can help document the damage and explain the repair scope, but the policyholder should remain involved in claim decisions and communication.
Compare Roofing Proposals, Not Just Prices
A low number on an estimate is not always a lower-cost roof. Roofing proposals can look similar at first glance while covering very different materials, installation methods, warranties, ventilation work, and cleanup responsibilities. The goal is to understand exactly what you are buying.
Ask each contractor to provide a detailed scope. It should identify the roofing material and color, underlayment, ice and water protection, flashing, ridge ventilation, pipe boots, fasteners, tear-off work, disposal, and any decking repairs that may be needed. If a cost cannot be known until old roofing is removed, such as hidden deck damage, ask how that work will be documented and priced.
For an asphalt shingle roof, confirm the shingle line, warranty level, starter shingles, ridge caps, and ventilation plan. For a metal roof, ask whether the system is exposed-fastener or standing seam, how panels will be formed and flashed, and how expansion and water management are addressed. Metal roofing can offer long service life and strong weather performance, but it must be installed with details appropriate to the roof design.
Check these proposal details before signing:
[ ] Contractor name, contact information, insurance coverage, and local reputation.
[ ] Exact roofing system, manufacturer, color, and warranty information.
[ ] Tear-off scope, including the number of existing layers to be removed.
[ ] Underlayment, ice barrier, flashing, ventilation, and drip-edge details.
[ ] Allowance or unit price for replacing damaged roof decking.
[ ] Protection for landscaping, siding, windows, decks, and driveways.
[ ] Cleanup process, debris removal, and magnetic nail sweep.
[ ] Start timing, expected duration, payment schedule, and change-order process.
A one-day roofing crew can be a major advantage for many homes because it limits the time your property is exposed and reduces disruption. Still, the proper schedule depends on roof size, weather, structural repairs, material availability, and complexity. A dependable contractor will set realistic expectations rather than promising a finish date that does not account for conditions.
Choose Materials for the Property You Own
The best roofing material depends on your home, budget, long-term plans, and the look you want. Asphalt shingles remain a practical choice for many homeowners because they provide dependable protection, broad color options, and a manageable upfront cost. Quality installation and ventilation matter as much as the shingle itself.
Metal roofing is often a strong fit for homeowners seeking longevity, clean lines, and low-maintenance performance. Standing seam metal roofing offers concealed fasteners and a refined appearance that works especially well on homes, lake properties, and buildings where durable exterior design is a priority. It typically costs more at the outset, so it makes the most sense when its service life, appearance, and long-term value align with your plans.
Do not select a color from a small sample alone. Look at full-size material samples outdoors when possible, and consider siding, brick, trim, and the surrounding setting. Dark colors can be striking, but they may show dust or fade differently over time. A good contractor can help you choose a system that fits the building instead of pushing one material for every job.
Prepare Your Home and Property for Installation
Roof replacement is active construction work. Crews need safe access around the building, and vibration inside the home is normal during tear-off and installation. A little preparation can prevent avoidable stress on installation day.
Move vehicles away from the driveway and garage area so crews can position trailers and materials safely. Remove patio furniture, grills, potted plants, decorations, and other items close to the house. Cover attic belongings if dust is a concern, and take down fragile wall decorations that could shift from vibration. Keep children and pets safely away from work areas.
Let the contractor know in advance about locked gates, septic systems, buried utilities, sprinkler heads, delicate landscaping, or access limitations. Property managers should communicate parking rules and tenant notices early. For a vacation property, confirm who will be the main point of contact and how photos, progress updates, weather delays, and decisions about unforeseen repairs will be handled.
Use this preparation list in the days before work begins:
[ ] Clear access around the home and move vehicles from the work zone.
[ ] Protect or relocate outdoor furniture, garden items, and fragile plants.
[ ] Secure attic storage and remove fragile interior wall hangings.
[ ] Notify neighbors, tenants, or guests about expected noise and parking impacts.
[ ] Provide gate codes and identify site-specific concerns before crews arrive.
[ ] Confirm the project contact, communication method, and payment expectations.
Know What to Watch During and After the Job
You do not need to supervise every step, but you should know what professional work looks like. Crews should maintain an orderly site, protect vulnerable areas where practical, address unexpected conditions before proceeding, and keep you informed about meaningful changes to the scope. Weather may require adjustments, particularly if tear-off begins and rain becomes a concern. Communication matters most when plans need to change.
Once installation is complete, walk the property with the contractor if you are able. Review the roof from the ground, check that gutters and downspouts are clear, and ask about ventilation, warranty registration, and maintenance. The contractor should remove debris and sweep for nails, although it is reasonable to stay alert around driveways and landscaping after any construction project.
Your final walkthrough checklist:
[ ] Confirm the agreed roofing material, color, and visible details were installed.
[ ] Review any decking repairs or approved changes to the original scope.
[ ] Check that debris, old materials, and equipment have been removed.
[ ] Ask about warranty documents, care recommendations, and final payment.
[ ] Keep photos, invoices, permits, and insurance paperwork with property records.
[ ] Report any questions promptly rather than waiting for a small concern to grow.
A new roof should leave you with more than a better-looking home. It should give you confidence that the people protecting your property understood the work, communicated clearly, and stood behind the details. For homeowners across Hillsdale, Coldwater, Angola, and nearby communities, Carbon Construction Company approaches roofing as a long-term responsibility to the property and the people who depend on it.


Comments